
Mini Crib Bumper (Bedside or Standard)
In this class, you’ll learn how to sew an easy bedside crib bumper, custom-sized to fit your crib. A PDF to help you calculate the measurements is included!
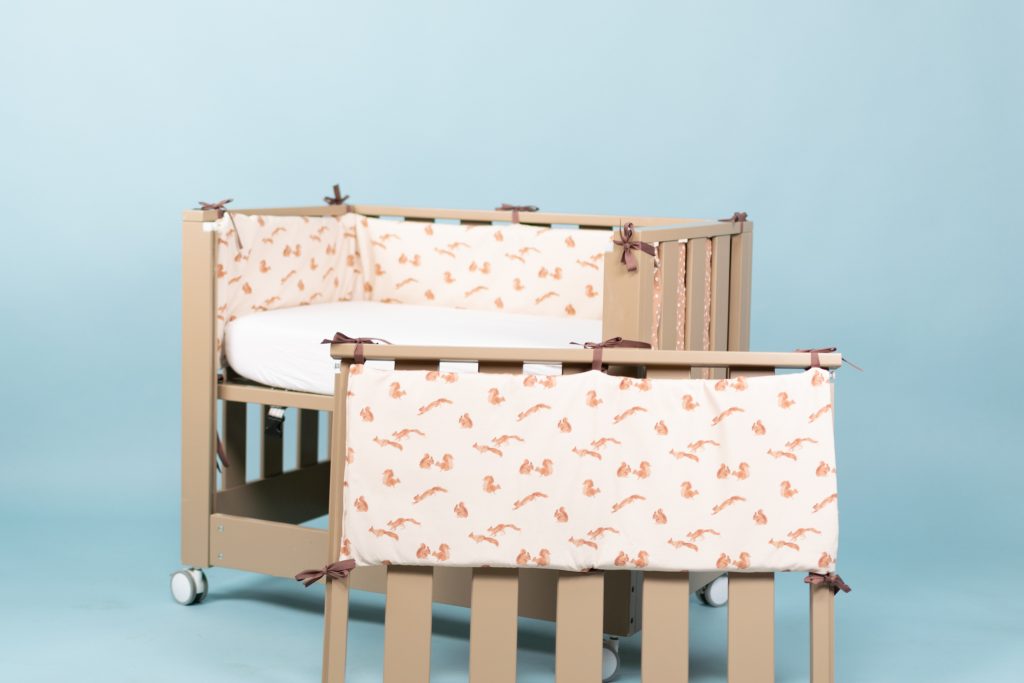
Project preview
This video is for members
Join Lulu Ferris to watch the complete class and sew along at your own pace.
What you’ll make
Sew a custom padded crib bumper in two sections: one for a removable or lowering bedside rail and one for the three fixed sides.
The longer section can be pieced in two or three parts. Placing the joins at the corners can keep a printed fabric from being divided at the center.
Each section has fabric ties and thick batting inside. Using a different fabric on each face makes the bumper reversible.
What you’ll learn in this class
- Measure the crib and choose the cushion height.
- Calculate the custom pieces with the worksheet.
- Choose a two-part or three-part layout.
- Position and reinforce the fabric ties.
- Sew, turn, press, and insert the batting.
- Close the openings and add optional quilting.
Fabric and materials
The class supports knit or woven outer fabrics. The examples use jersey and waffle knit, while poplin is another supported option.
Use thick batting inside. The ties may be twill tape, woven bias tape, or knit binding. Match the needle and stitch to the outer fabric.
Make it your own
- Use matching faces or contrasting fabrics.
- Place the long section’s joins at the center or corners.
- Adjust tie positions to suit the crib rails.
- Quilt the bumper or define the corners with stitching.
Custom measurements
The included worksheet calculates the pieces from the crib’s interior width, interior length, and your chosen cushion height.
The removable-rail cushion stays separate. The fixed-side cushion may be divided into two matching sections or into sections for the short and long sides.
The class includes a measurement PDF for planning the custom pieces.
Related baby projects include: