
San Sebastián Backpack
Discover how to sew the San Sebastián Backpack with our detailed tutorial. Learn to create a stylish, functional backpack that’s perfect for any occasion. Find the pattern, materials, and helpful tips in our PDF and video tutorial.
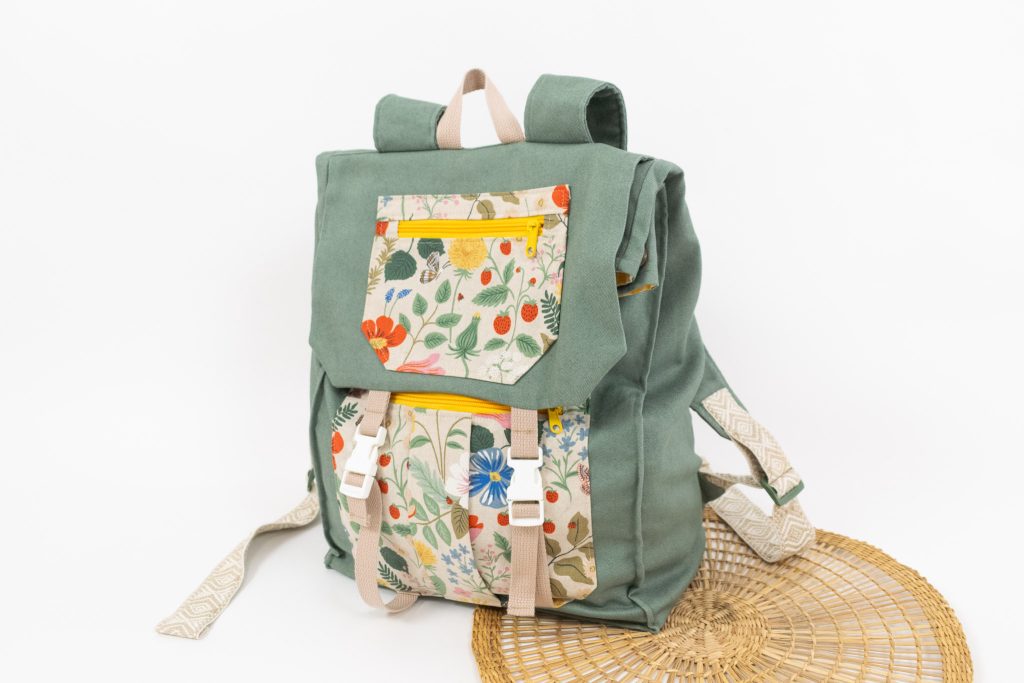
Project preview
This video is for members
Join Lulu Ferris to watch the complete class and sew along at your own pace.
What you’ll make
The San Sebastián is a roomy backpack with a fold-over top, a buckled flap and padded shoulder straps.
Two zippered exterior pockets keep essentials accessible: one sits on the flap and the other on the front.
Inside, a padded divider forms a laptop compartment, while additional pockets organize smaller belongings. Side snaps shape and secure the folded opening.
A removable covered base insert supports the broad bottom and helps it hold its shape when loaded.
What you’ll learn in this class
- Prepare and attach two zippered exterior pockets.
- Shape the dimensional front pocket.
- Make padded straps and reinforce the webbing.
- Quilt the back and build a stabilized laptop divider.
- Join the exterior and lining, then secure them at the base.
- Install the flap, adjustable straps and side snaps.
- Cover a removable insert for the wide base.
Fabric and structure
The sample uses denim outside and poplin for the lining. Canvas is another supported exterior option.
Thin batting cushions the back and straps, while stabilizer supports the laptop divider. A firmer exterior produces a more structured backpack.
Add lightweight or medium-weight interfacing if your fabric needs more body. Test the combination first so the finished structure suits your preference.
Make it your own
Divide the interior organizer to suit what you carry. The class demonstrates an optional narrow compartment for a pen.
The flap pocket can be repositioned, and the front pocket may be omitted for a simpler design.
Optional topstitching along the sides and base adds definition and body, especially when using a softer fabric.
For other backpack formats, compare these projects:
Finished size
The finished backpack measures approximately 30 cm wide, 40 cm high and 15 cm deep.
The video class is accompanied by printable A4 and copy-shop A0 pattern files, plus project information covering materials and preparation.
The techniques are approachable, but the number of components makes this a longer project.