
Adjustable Strap for Accessories
Learn how to make an adjustable strap with snap hooks for bags, backpacks, crossbody projects and other accessories. A simple, reusable technique for adding a functional custom finish to your sewing projects.
Video class
This video is for members
Join Lulu Ferris to watch the complete class and sew along at your own pace.
An adjustable strap for your accessories
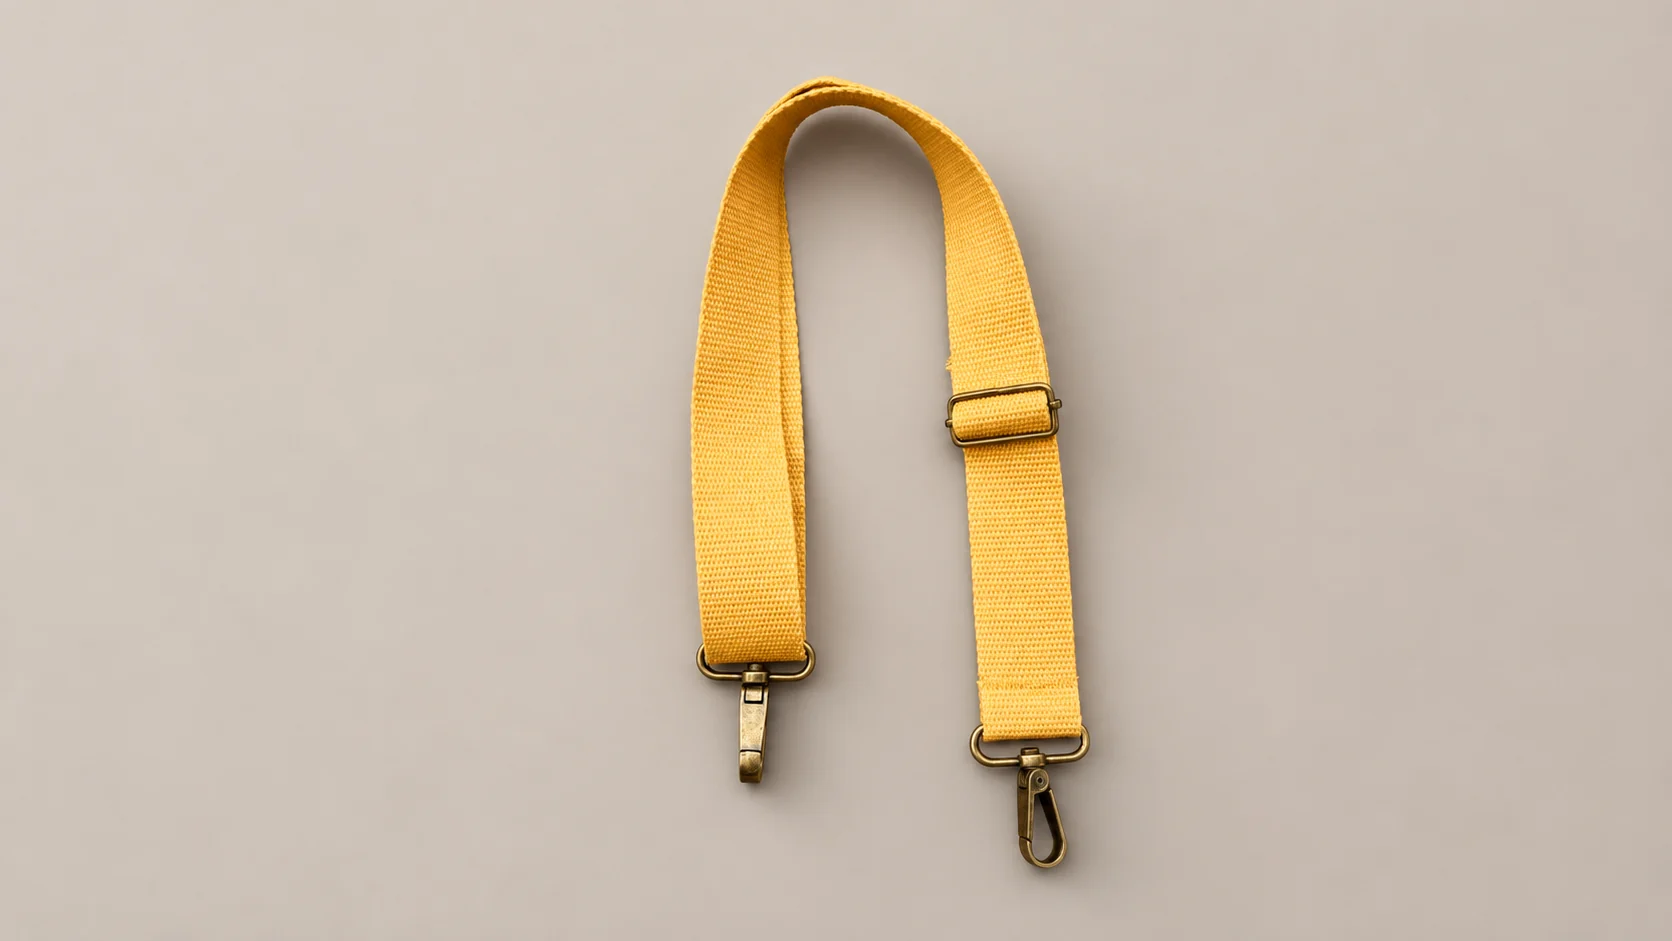
In this class you’ll make an adjustable strap for accessories: a practical strap you can clip onto a bag, backpack, crossbody project or any accessory that needs a removable, adjustable strap.
The finished piece brings together webbing, a strap adjuster and snap hooks for a useful, easy-to-adjust result with a clean finish. It’s a great skill for customizing handmade projects or replacing a strap that no longer suits your needs.
What you’ll learn
- Build an adjustable strap with a slider so the length adjustment works smoothly.
- Add snap hooks to create a removable strap for different accessories.
- Finish strap ends according to the webbing material to help reduce fraying.
- Use straight stitch, zigzag or reinforced topstitching on the joined areas.
- Check that the adjustable system works before considering the strap finished.
- Explore optional fabric or tape details to cover or decorate the join.
Materials and finishes
The class uses strap webbing and basic hardware: one adjuster and two snap hooks. The webbing may be polyester, polypropylene or cotton, and the material affects which finishing options make the end result cleaner and more secure.
You’ll also see how the securing stitches influence both strength and appearance. Keep the finish simple and discreet, or make the stitched area more intentional with visible reinforcement and small decorative details.
Ways to customize it
The strap adapts to the accessory you’re making: choose a longer or shorter length, select the color and texture of the webbing, and pair it with snap hooks in the hardware finish that best matches your project.
You can also play with the reinforcement area, either hiding it or making it part of the design with a fabric piece or tape detail. It’s a versatile base for bags, backpacks, crossbody accessories and more.
Length and adjustability
The sample in the class is made with a strap of approximately one meter, but the length can be changed depending on how you plan to use it. The key is keeping the strap adjustable and comfortable for the chosen accessory.
This is not a sized pattern project; it adapts to your preferred length, style and use, from a shorter strap to a longer crossbody option.
What’s included in the class
A clear, focused video class for learning a technique you can reuse on many accessories. You’ll see the key assembly, checking and finishing points so the strap adjusts well and looks neat.
This project does not require a downloadable pattern or printed pieces; it is made with webbing and hardware. The class helps you apply the technique confidently to your own accessories.
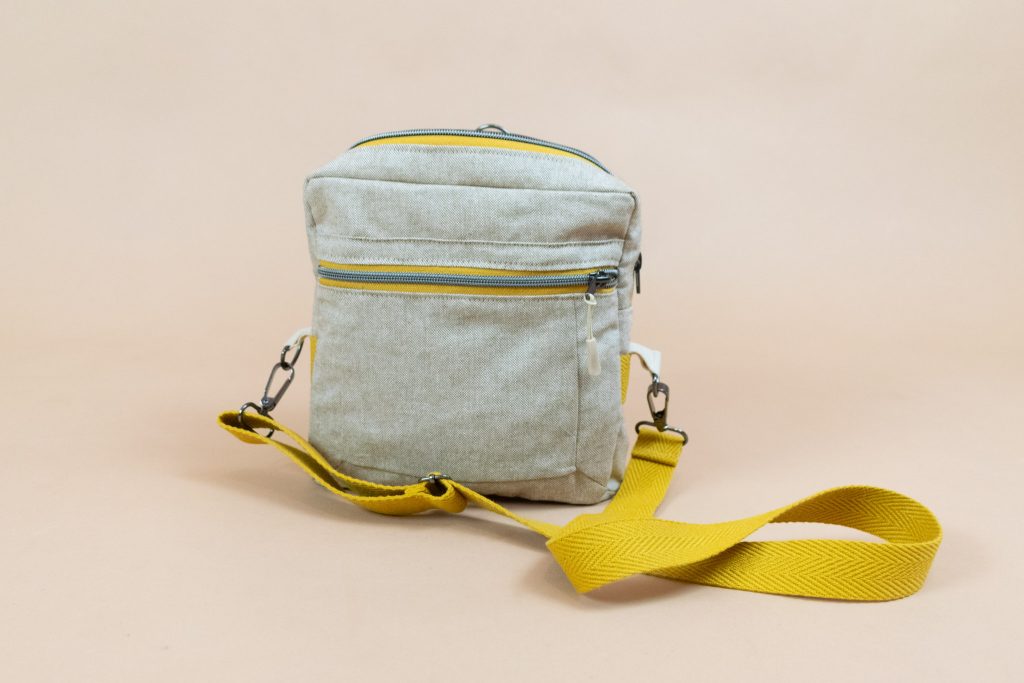 Pol Sling Backpack
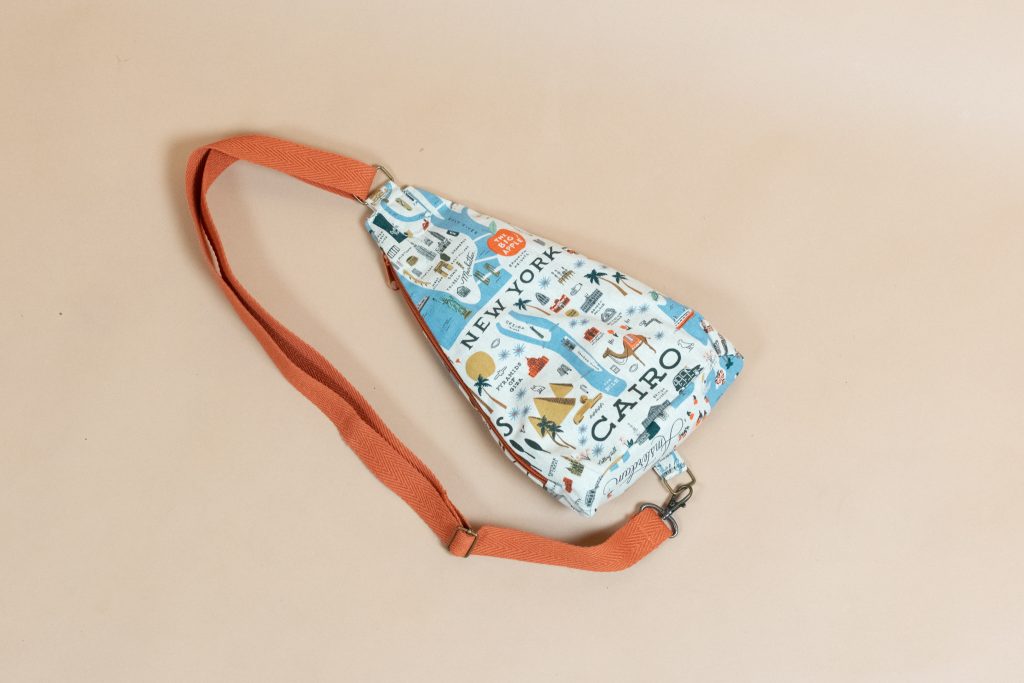 Metro Crossbody Bag