
Tanit Shirt
Learn how to sew the Tanit Shirt step by step in our online sewing school. The pattern is available in sizes 34 through 56, in A4 and A0 formats. Video tutorial included.
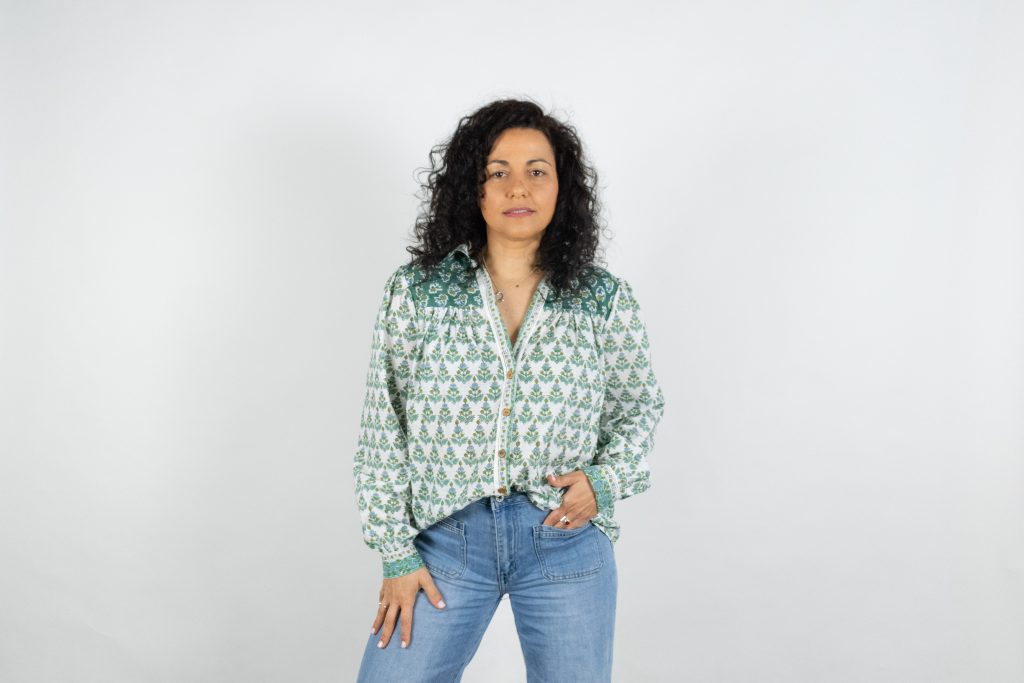
Project preview
This video is for members
Join Lulu Ferris to watch the complete class and sew along at your own pace.
What you’ll make
Sew the Tanit, a relaxed shirt with a deep neckline, a shirt-style collar without a stand and straight long sleeves finished with buttoned cuffs.
Gathering shapes the front, back and sleeve caps. Front and back yokes add structure, while bound sleeve openings create a polished cuff detail.
The demonstrated shirt uses double yokes for clean interior seams and contrasting fabric to emphasize the yoke panels.
What you’ll learn in this class
- Gather the body evenly into the front and back yokes.
- Build double yokes with enclosed interior seams.
- Gather and set the sleeve caps using the pattern notches.
- Bind the sleeve openings and attach gathered button cuffs.
- Construct the front plackets and attach a collar without a stand.
- Sew the shirt and cuff buttonholes and buttons.
Choosing your fabric
The sample combines two lightweight printed voiles. Poplin, sheer chiffon and fluid viscose are also suitable; fabric weight and drape determine how crisp or flowing the shirt feels.
The class uses lightweight interfacing selectively in the collar, plackets and cuffs. More interfacing creates a firmer finish, while using less preserves softness and movement.
For a delicate woven, the class also demonstrates stabilizing curved and bias edges before assembly.
Make it your own
- Use one fabric throughout or contrast the yokes.
- Make single yokes instead of double yokes.
- Shorten the sleeves and hem them or add elastic.
- Reshape the straight lower edge into a curved hem.
- Adjust the interfacing for a softer or firmer shirt.
- Change the number or placement of the buttons.
Sizing and pattern details
The pattern covers sizes 34/36 through 54/56. Its chart spans a bust circumference of 86–132 cm, waist of 64–110 cm and hip circumference of 90–136 cm.
Finished shirt length ranges from 63 to 68 cm by size. Use the body measurement chart to select your size before cutting.
The video class includes printable A4 and copy-shop A0 pattern files, plus a pattern information sheet.