
How to Sew Buttonholes and Buttons by Machine
Learn how to sew buttonholes and buttons with your sewing machine, step by step. A clear, practical mini class with tips for a professional finish.
Video class
This video is for members
Join Lulu Ferris to watch the complete class and sew along at your own pace.
What you’ll make
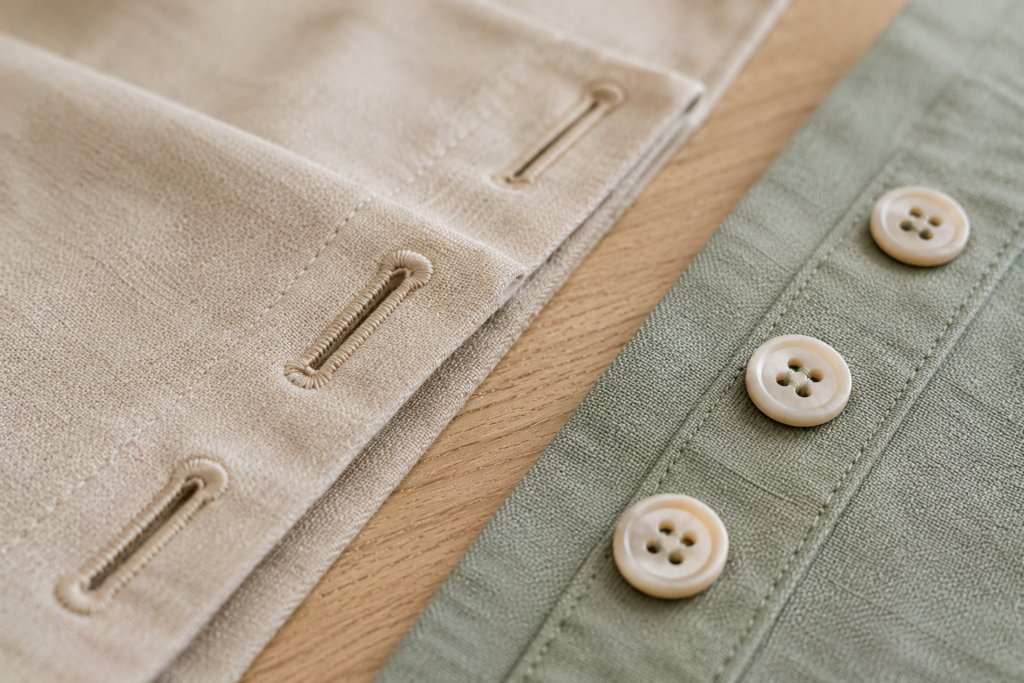
Create machine-sewn buttonholes and attach buttons accurately on practice fabric or a garment.
The class demonstrates several machine setups, including a computerized system, a manual four-step method and an automatic buttonhole foot that holds the button.
What you’ll learn in this class
- Mark the buttonhole center for the button size.
- Stabilize fine fabric with interfacing.
- Select a buttonhole style and stitch density.
- Use computerized or automatic settings.
- Sew a manual buttonhole in four stages.
- Open the slot without cutting past its ends.
- Attach a button by machine with a zigzag.
Prepare before sewing
Test the complete buttonhole on a scrap of the project fabric. This checks the size, stitch density, alignment and machine setup before you sew the garment.
Fine fabric will usually need interfacing. When attaching the button, lower or cover the feed dogs so the fabric remains stationary.
Make it your own
Choose a buttonhole style suited to fine garments, jackets or decorative applications. Adjust its width or stitch density if your machine provides those controls.