
Romeo Book & Tablet Crossbody Case
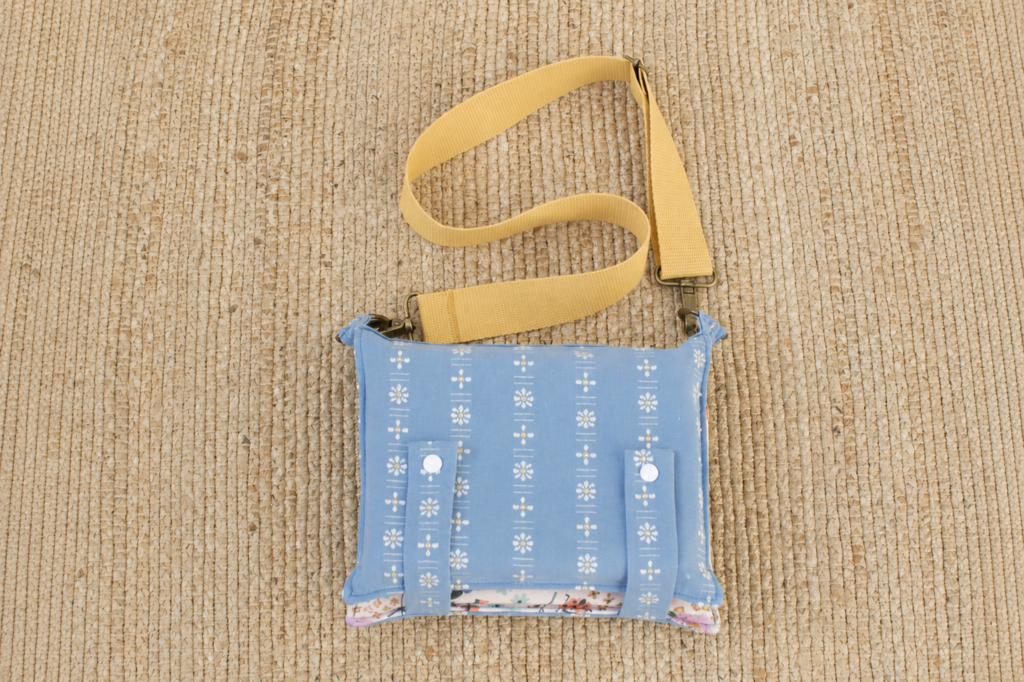
Make a crossbody case with two book-sized compartments, two zipped pockets, snap tabs and an adjustable strap—ideal for books, planners, notebooks or a tablet.
Video class
This video is for members
Join Lulu Ferris to watch the complete class and sew along at your own pace.
What you’ll make
The Romeo is a structured crossbody case designed to carry books, notebooks, planners or a tablet while keeping smaller essentials easy to find.
It opens flat like a book. Two separate compartments hold your larger items, while an internal zipped pocket keeps AirPods, cables, pens or other small belongings secure.
A second zipped pocket on the outside keeps your phone, keys or pencils close at hand. Snap tabs hold everything together without making the case difficult to open.
Finish it with a detachable, adjustable strap and wear it over your shoulder or across your body for comfortable, hands-free carrying.
What you’ll learn in this class
- Prepare zippers with neat fabric ends and optional topstitching.
- Sew bias-bound patch pockets and internal and external zipped pockets.
- Centre each layer accurately and baste the edges to prevent shifting.
- Assemble, turn and topstitch the case for a clean, structured finish.
- Attach the centre spine and reinforce the areas that carry the most strain.
- Install plastic snaps and make an adjustable strap with a slider and swivel clips.
Choose your fabric and structure
Use a woven fabric such as cotton, poplin or lightweight canvas. Avoid beginning with anything too thick, especially if you plan to add stabilizer or heavy interfacing.
Choose interfacing, batting or stabilizer according to the finish you want. A softer layer creates a relaxed case; firmer support gives it more shape and protection.
Several layers meet during the final assembly. Lulu explains how to assess the combined thickness and choose a suitable presser foot and needle so your machine can sew through them cleanly.
Make it your own
The snap tabs are optional. Make them from your main fabric, substitute matching webbing, or leave them off for a simpler finish.
You can also add a short carry loop made from bias tape, fabric or webbing.
Finish the inner patch pockets with bias binding, a narrow hem or decorative stitching. The outer zipped pocket can also be lined for a cleaner interior.
Need room for a taller planner or device? The pattern can be adapted, and the class explains what to consider when changing the height or width so all the affected pieces still work together.
Finished size and capacity
- Finished size: approximately 25 cm wide, 20 cm high and 3 cm deep (9 7/8 in wide, 7 7/8 in high and 1 3/16 in deep).
- Capacity: two books, notebooks, planners or devices, each approximately 15 cm wide, 20 cm high and 3 cm deep (5 7/8 in wide, 7 7/8 in high and 1 3/16 in deep).
The downloadable PDF includes the pattern and complete materials list, so you can prepare every piece before starting.
In the complete video class, Lulu guides you step by step through the zipped pockets, layered assembly, reinforced areas, snaps and adjustable strap.