
Peaky Cap
Sew your own Peaky Blinders–style cap with a pattern in 3 sizes and a step-by-step tutorial. Perfect for every season. Available through Lulu Ferris!
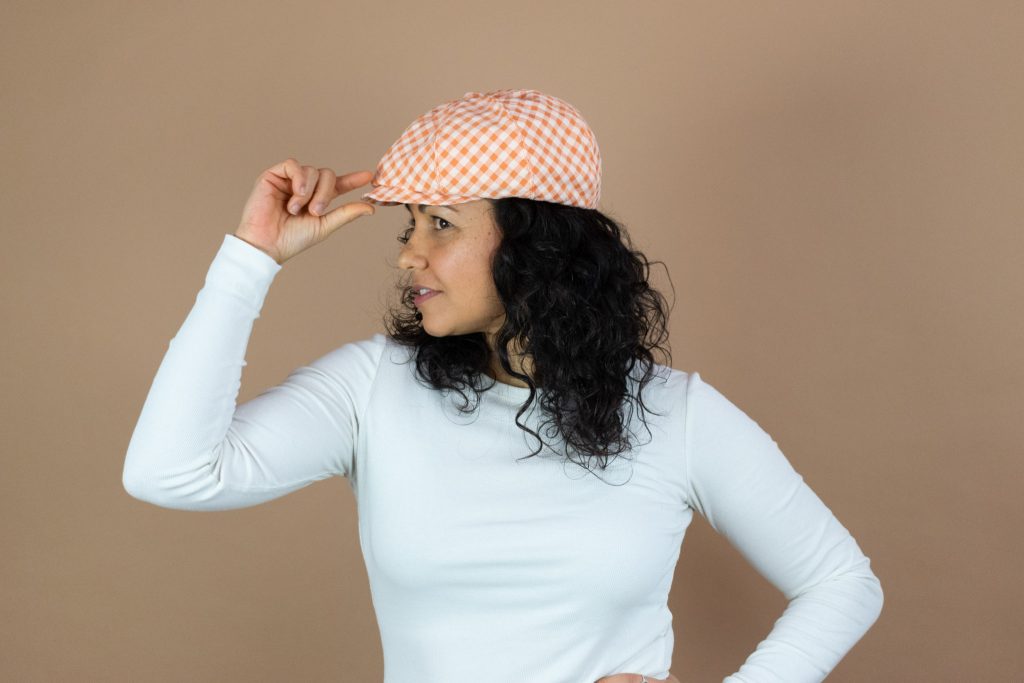
Project preview
This video is for members
Join Lulu Ferris to watch the complete class and sew along at your own pace.
What you’ll make
The Peaky is a duckbill-style newsboy cap with a shaped, paneled crown and curved visor. It is fully lined, with ribbon covering the lower interior seam.
Topstitching highlights the crown seams, while an optional fabric-covered button finishes the center. The crown can also be tacked to the visor for a flatter front.
What you’ll learn in this class
- Identify and organize similar crown pieces.
- Join curved panels at the marked intersections.
- Construct, turn, trim, and topstitch the visor.
- Press the crown seams and add even topstitching.
- Align the outer crown, lining, and visor.
- Cover the inner seam with ribbon and secure it by hand.
- Cover and attach an optional top button.
Fabric and structure
Use a lightweight woven fabric for warm weather or a heavier fabric for a winter cap. Interfacing gives the outer crown more body.
Support the visor with interfacing or a plastic insert, depending on how firm you want it to feel and how strongly it should hold its shape.
Make it your own
- Use a contrasting fabric for the lining or visor.
- Add decorative rows of visor topstitching.
- Leave the crown free or tack it to the visor at center front.
- Add or omit the fabric-covered top button.
Choose your size
The printable pattern includes S, M, and L. Measure around the head where the cap will sit, allowing for thick or voluminous hair when choosing a size.
The video class covers the complete cap construction and includes a printable A4 pattern in three sizes.