
Pacifier Pouch (with Hanging Loop)
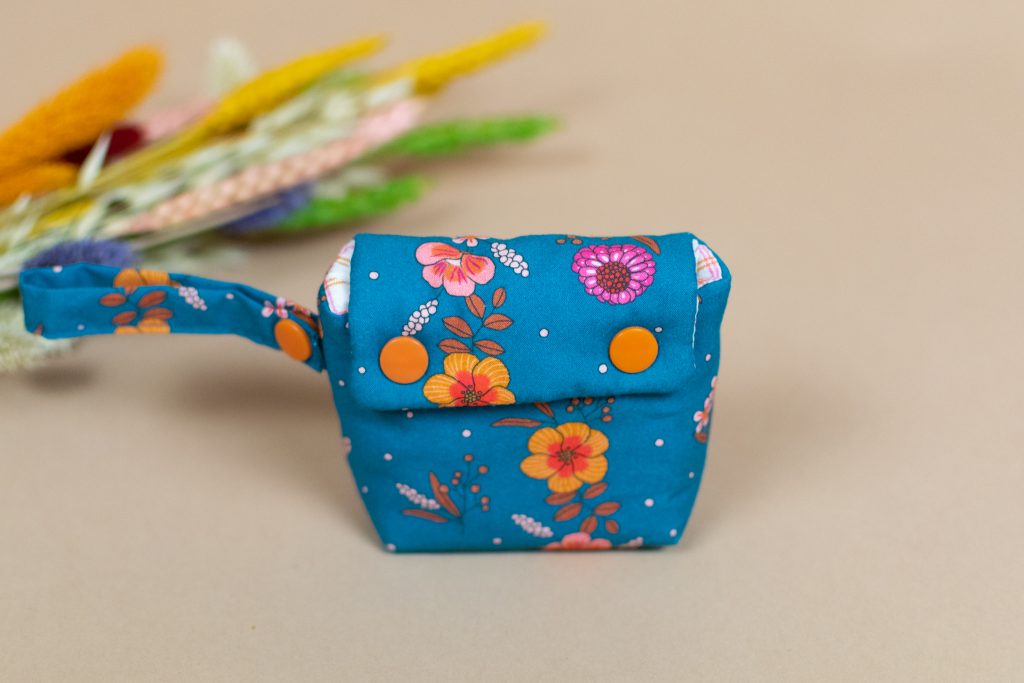
Never have a pacifier handy when you need one? That’s because you haven’t made our pacifier pouch (which is also perfect for all sorts of little things). It’s super easy, and the pattern is included!
Video class
This video is for members
Join Lulu Ferris to watch the complete class and sew along at your own pace.
What you’ll make
Sew a small lined pouch that keeps two or three pacifiers together and easy to reach. A hanging loop attaches it to a stroller or bag, while the flap and snap closure keep the contents contained.
The same shape can hold other small essentials, and its boxed base gives the pouch useful depth without making it bulky.
What you’ll learn in this class
- Cut mirrored outer, lining, and batting pieces.
- Fold and topstitch a narrow hanging loop.
- Sew boxed corners for a dimensional base.
- Join the lining and padded exterior.
- Turn the pouch through the lining opening.
- Install snaps through the finished layers.
Fabric and structure
The featured pouch uses outer fabric, lining fabric, batting, and snaps. The batting adds structure to the small shape.
For a flatter pouch, replace the batting with standard interfacing or omit the stabilizer. A walking foot can help feed the padded layers, but it is optional.
Make it your own
Round the flap or keep its corners square. Use one or two snaps, substitute hook-and-loop tape, or add a snap hook to the hanging loop.
You can enlarge the pouch for another use. If it will hang from a thick stroller bar, measure the bar and lengthen the loop to fit.
The complete class includes a downloadable base pattern with mirrored cutting guidance and demonstrates the hanging loop, boxed base, flap, lining, and closure.