
Lilo Belt Bag
Learn to sew the Lilo belt bag step by step. This easy, eye-catching project includes an A4 pattern, and you will find many more belt bag designs in Lulu Ferris.
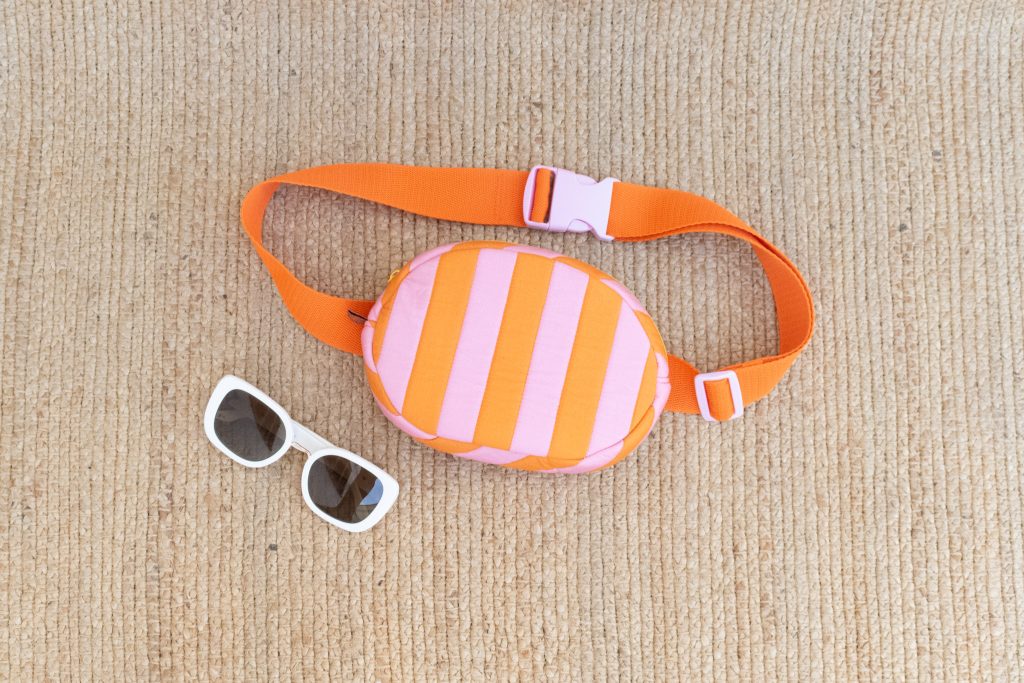
Project preview
This video is for members
Join Lulu Ferris to watch the complete class and sew along at your own pace.
What you’ll make
Sew the Lilo, a compact oval belt bag with a zippered opening, full lining, and an adjustable webbing belt. Bias binding finishes the interior seams.
What you’ll learn in this class
- Choose a support layer to control the bag’s firmness.
- Quilt the outer pieces for an optional padded finish.
- Build the lined zipper unit.
- Make and attach the rear belt channel.
- Match the marked points around the curved panels and gusset.
- Bind the interior seams and assemble an adjustable belt.
Structure and materials
The combination of outer fabric, lining, and support layer determines the bag’s body. Choose interfacing, batting, or stabilizer to achieve the structure you want.
The sample is quilted over firm stabilizer. The class explains that this creates bulky layers and makes the oval curves more demanding to sew.
The demonstrated belt uses backpack webbing with a buckle and slider.
Make it your own
Skip the quilting, change the support layer, or replace the webbing with a fabric strap. A scarf can also pass through the rear channel and be worn at the waist or across the body.
Add a small interior pocket or divide an outer panel to create an exterior pocket. For a crossbody bag, add side tabs and a removable strap with swivel clasps.
If you prefer concealed interior seams, the class points to the binding-free construction used for the Barbara bag.
Finished size
The completed Lilo measures approximately 19 × 14 × 5 cm.
The video class is accompanied by a printable A4 pattern with the pattern pieces, finished measurements, and materials information.