
How to Install Plastic and Metal Snaps Without Messing Them Up
Learn how to install plastic and metal snaps step by step. This practical mini class covers the tools, tips, and tricks you need to attach them without damaging the fabric.
Video class
This video is for members
Join Lulu Ferris to watch the complete class and sew along at your own pace.
What you’ll make
Install functional closures using either plastic or metal snaps. This focused class shows how the components fit together and how to avoid common placement mistakes.
The techniques apply to bodysuits, T-shirts, backpacks, handbags, and toiletry bags whenever a practical or decorative snap closure is needed.
What you’ll learn in this class
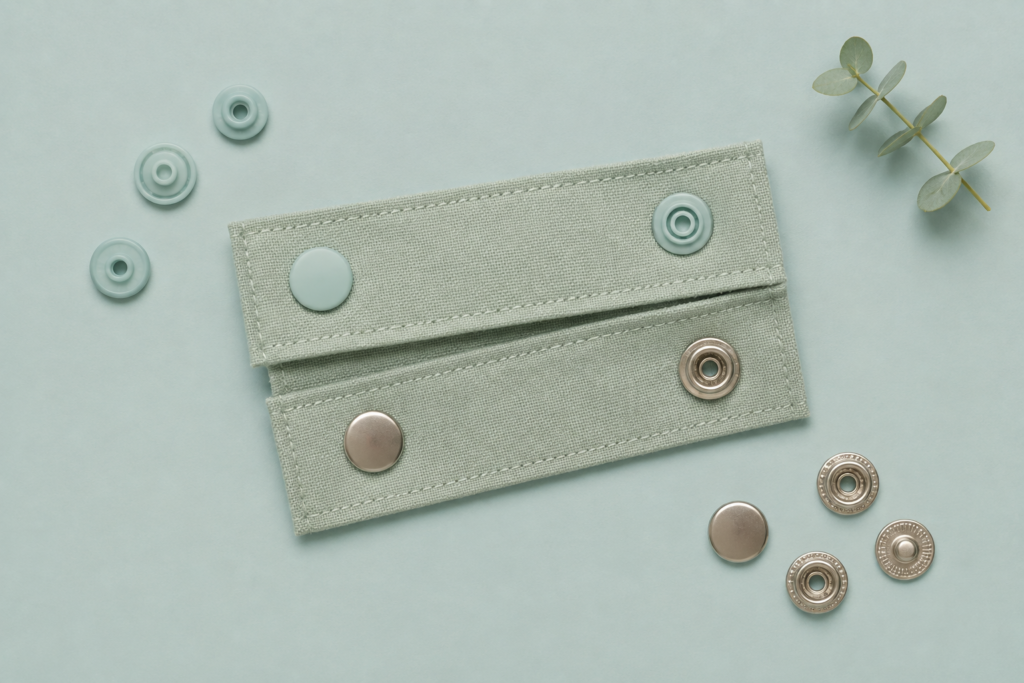
- Identify the cap, stud, and socket pieces.
- Choose the correct pliers for each snap type.
- Mark placement and pierce the fabric when needed.
- Reinforce fine fabric before adding a snap.
- Check the orientation before pressing each half.
- Remove a misplaced plastic snap.
Preparing the fabric
Test the snap position and closing direction before pressing the pieces permanently. Reinforce thin fabric with interfacing or a concealed scrap of fabric.
Plastic snaps generally require an awl and their dedicated pliers. Metal snaps use different pliers and toothed ring or cap components.
This concise reference class demonstrates installation for both plastic and metal snaps.