
How to Install Metal Snaps Without the Headache
Learn how to install metal snaps step by step. This practical mini class covers the tools, tips, and techniques you need to secure them properly without distorting them.
Video class
This video is for members
Join Lulu Ferris to watch the complete class and sew along at your own pace.
What you’ll make
Install a complete metal snap on a fabric sample with a hammer-set tool kit. The demonstrated snaps are intended for thicker fabrics.
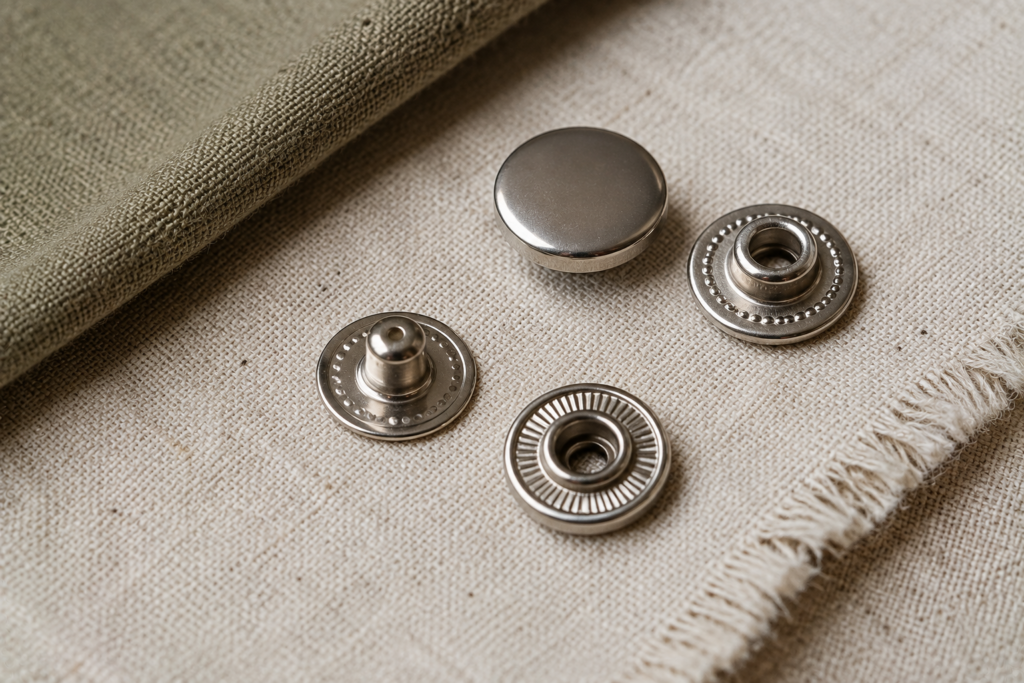
This mini class focuses on recognizing the components, punching accurately placed holes, and setting both halves so the finished snap closes correctly.
What you’ll learn in this class
- Identify the snap parts and setting tools.
- Match the smooth and textured supports to the correct halves.
- Mark and punch accurate snap positions.
- Align each component inside the setting tools.
- Change the support when setting the opposite half.
Tools and test fabric
The demonstration uses a metal snap kit, its punches and setting pieces, a hammer, and a small fabric sample. Testing first helps confirm the tool pairing and placement.
This focused class shows one complete metal snap installation, from marking the fabric to testing the closure.