
Fabric Binder and Folders
In today’s class, I’ll show you how to make a beautiful fabric binder with folders and handles so you can take it anywhere. Beginner level.
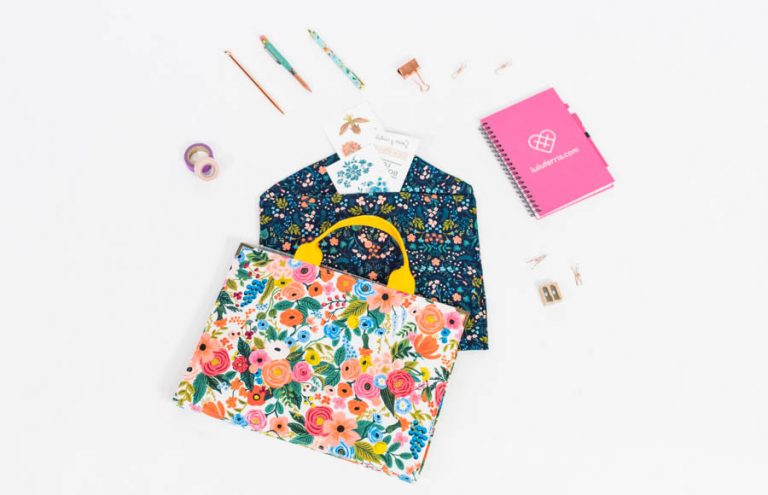
Project preview
This video is for members
Join Lulu Ferris to watch the complete class and sew along at your own pace.
What you’ll make
Create a portable fabric binder with carrying handles and removable envelope-style folders for sewing patterns, documents, children’s artwork, or other papers.
The folders can be sewn from fabric or clear plastic. Snaps close each folder, connect the folders, and secure the group inside the outer binder.
What you’ll learn in this class
- Stabilize the outer binder with firm interfacing and add handles.
- Plan directional prints so they remain upright when folded.
- Turn, press, and topstitch the structured outer cover.
- Sew envelope folders from interfaced fabric.
- Stitch clear or glitter plastic with suitable feeding aids.
- Install snaps so the folders close, connect, and attach to the cover.
Fabric and stabilizers
Cotton, poplin, or canvas can be used for the binder. Firm interfacing gives the outer cover structure, while lighter interfacing is suitable for fabric folders.
Make the handles from webbing or fabric. Clear or glitter plastic can replace fabric when you want the contents to remain visible.
Make it your own
Combine fabric and transparent folders, add sewn labels, or use visible cover sheets to identify the contents. Decorative stitching and book-corner protectors can add a personal finish.
When using directional fabric, plan the joins so both parts of the print remain upright after the binder is folded.
Capacity
The finished binder holds approximately 6 to 8 folders, depending on how full they are.
This beginner class includes the video lesson and a downloadable PDF with patterns for the binder and folders.